I recently wrote a post about how to make a glitter texture in Procreate. I wanted to use the glitter texture to make glittery confetti. This tutorial will show how to make a simple confetti brush in Procreate using any shape you want. After creating the brush, I’ll show you how to create multicolored confetti using Alpha Lock or how to add a texture to the confetti using a Clipping Mask.
To learn how to make your own confetti brush, watch the video or read the tutorial below.
NOTE: Procreate has had an update since this post was written and this process has changed a bit. I’ve written a new post about how to make a multicolor confetti brush in Procreate 5
Use an Apple Pencil for best results.
Open Procreate and Create a New Square Canvas
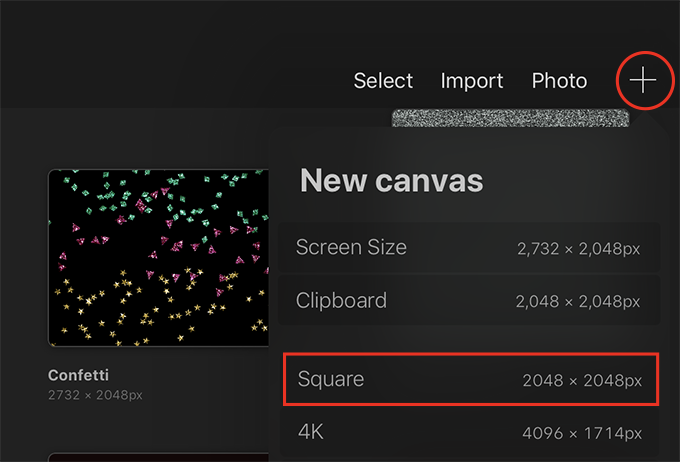
Open Procreate and tap on the (+). Choose the Square canvas.
Draw a Shape
Get the Monoline brush
Tap on the brush icon and scroll to the Calligraphy set. Choose the Monoline brush.

Get black for the color
Tap on the color swatch and double tap in the black area of the color disc to get black.

Set the size of the brush and draw a shape
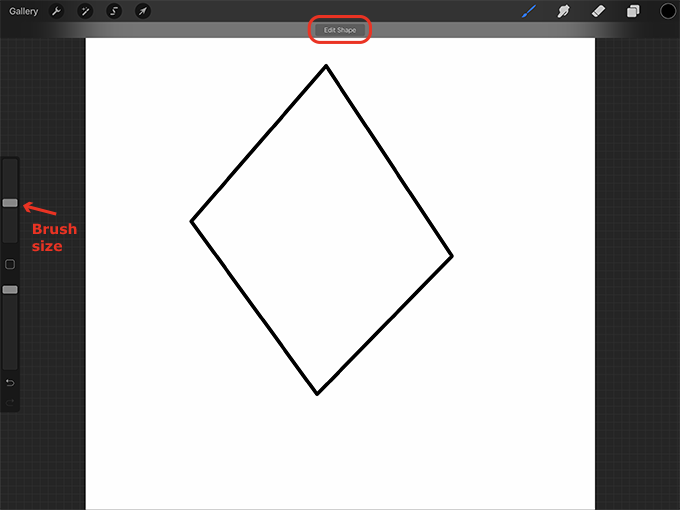
Use the size slider on the side of the screen to set the size of your brush. I chose 20%. Then draw a large shape in the center of the canvas such as a diamond, star, triangle, etc. Make sure the shape is closed and fill as much of the canvas as you can.
If you want to perfect your shape, hold your pencil down after drawing your shape. Procreate will smooth your shape out. Tap Edit Shape at the top of the screen to further perfect the shape.
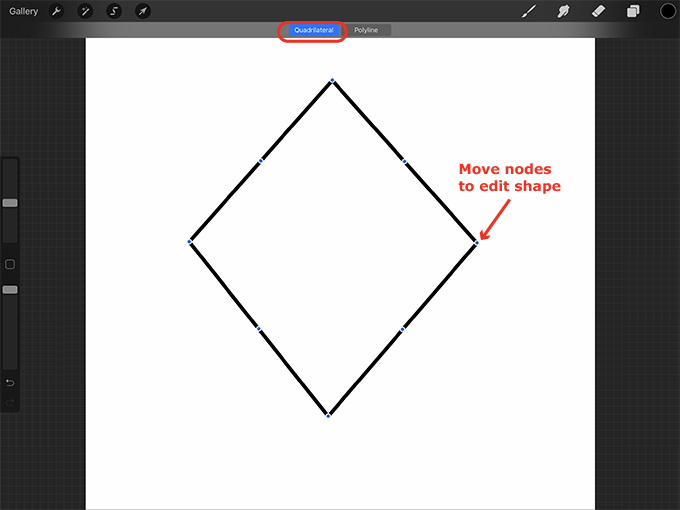
You can also drag the nodes on the shape to edit it.
If you want to learn how to draw a heart in Procreate, click here.
If you want to learn how to draw a star in Procreate, click here.
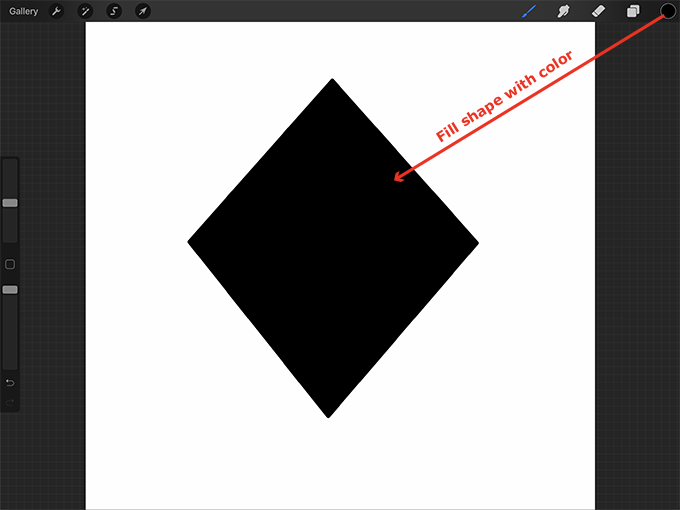
Fill the shape with black
Make sure that your shape is complete with no gaps in the line, and then drag from the color swatch into the shape to fill it with black.
Make the Confetti Brush
Copy your shape
Tap on the wrench, tap Add, and tap Copy canvas.

Make a new brush set and a new brush
Tap on the paintbrush icon, scroll to the top of the Brush Library, and tap on the (+).
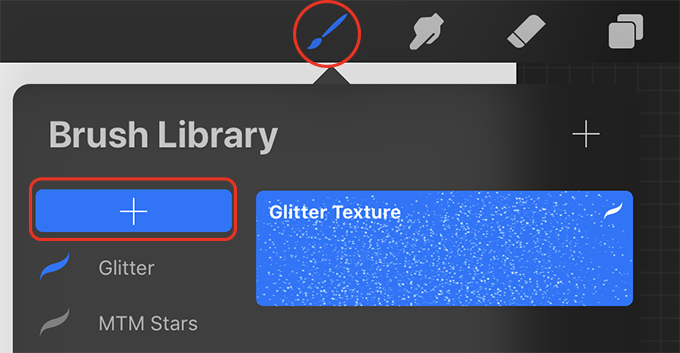
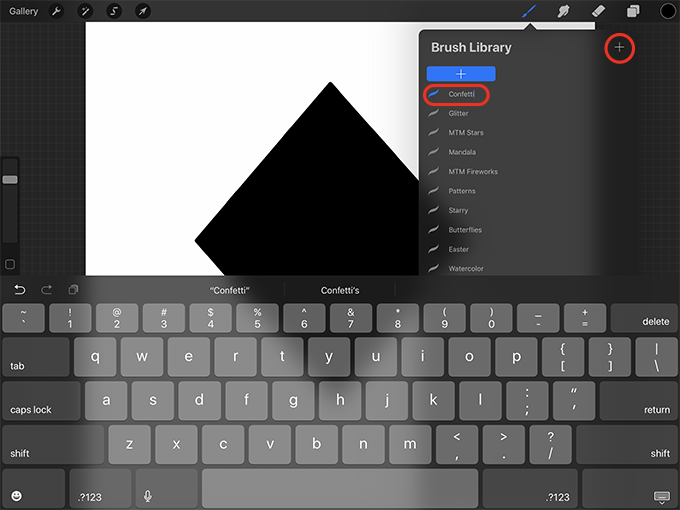
Give your brush set a name such as “Confetti.” Then tap on the (+) in the upper right corner of the Brush Library to add a new brush to this set.
Choose the Shape Source
Under Shape Source tap and hold on the Select Shape square and then tap Paste.

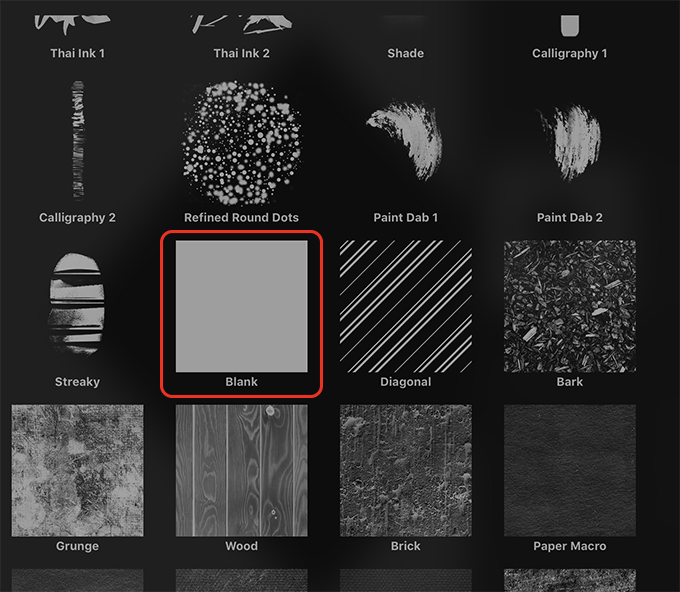
Choose the Grain Source
Under Grain Source tap Swap from Pro Library.
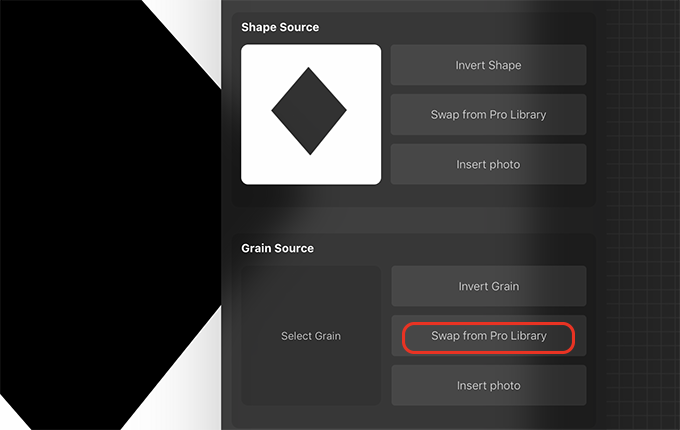
For this tutorial, scroll down and tap on the Blank.
Invert the Shape Source
Under Shape Source tap on Invert Shape. This will make your shape white and the background black.
NOTE: You may have to tap on Source at the bottom of the menu to get back to this screen before tapping on Invert Shape.

Change the brush settings
These settings will vary based on the shape you’re using and what you want your confetti to look like. Test out the brush and modify the settings as needed.
Modify the Stroke settings
At the bottom of the brush menu tap Stroke.
Increase the Spacing. I made mine about 57%.
Increase the Jitter. I made mine Max.

Modify the Shape settings
At the bottom of the brush menu tap Shape.
Increase the Scatter. I made mine about 52%.
Increase the Rotation. I dragged the Rotation scroll all the way to the right so that it said Follow stroke.
If you want, toggle the Randomized button on under Shape Properties. This will make it so the direction of the shapes will be different at the beginning of each stroke.

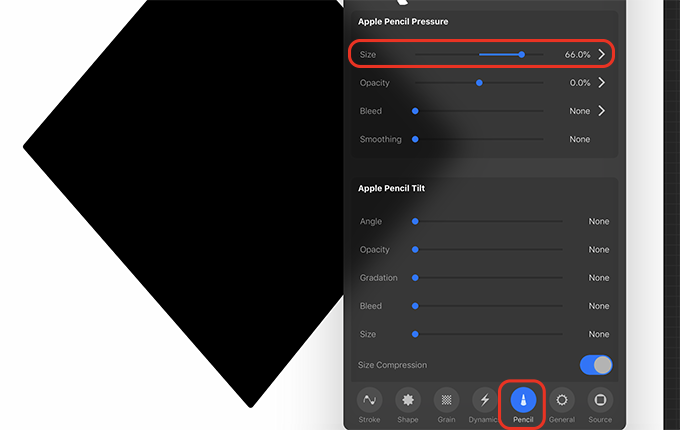
Modify the Pencil settings
At the bottom of the brush menu tap Pencil. Under Apple Pencil Pressure increase the Size. I made mine 66%. This will make your confetti larger or smaller depending on the pressure of your Apple Pencil.
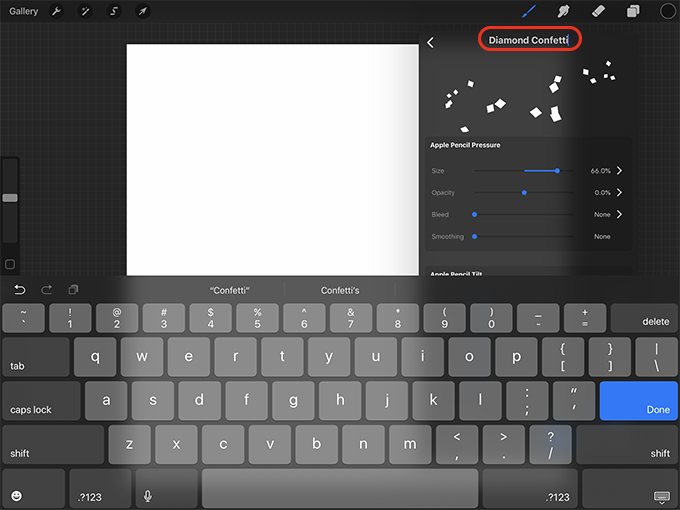
Name the brush
Tap on Untitled Brush at the top of the brush menu and give the brush a name such as “Diamond Confetti.”
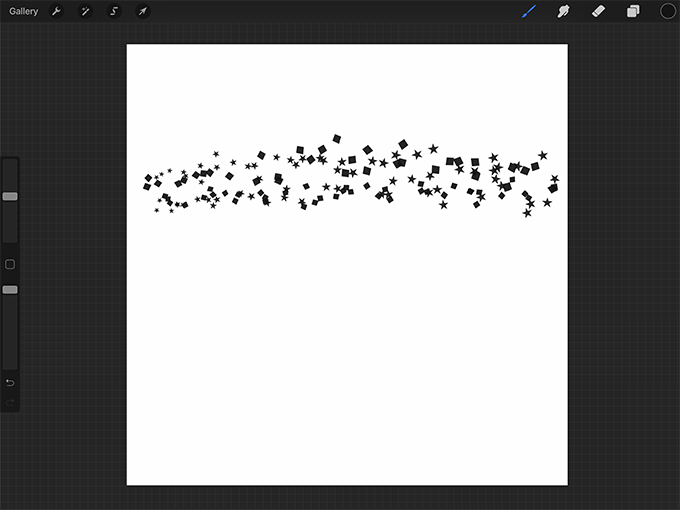
Test the Brush
Create a new layer and turn off the visibility checkbox of shape layer (Layer 1).

Use the size slider on the side of the screen to change the size of the brush. Then use your Apple Pencil to test the brush. Try different colors and sizes. Change any of the above brush settings if you want a different look.

Add More Color and Texture to the Confetti
There are lots of ways to add color and texture to the confetti. I’ll show how to use Alpha Lock to paint on top of the confetti and how to use a Clipping Mask with a texture.
Add more color
You could simply choose another color and draw the confetti. You could experiment with layering different colors of confetti over each other. Or, you could use the Alpha Lock and a soft brush to paint over your drawing in different colors.
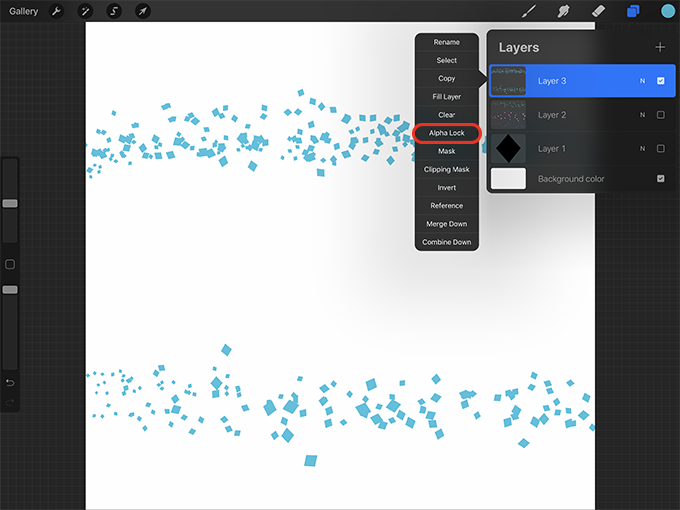
Use Alpha Lock to make multicolored confetti
To paint on top of the confetti, create a new layer, turn off the visibility of the previous layers, and add some confetti to the canvas in a light color.
Tap on the confetti layer and in the pop-out menu press Alpha Lock.
Now get a brush. I like to use a brush from the Airbrushing set such as the Soft Brush.

Use the opacity slider on the side of the screen to increase the brush opacity to 100%. Choose different colors and paint over the confetti to create multicolored confetti.

Add a texture to the confetti using a Clipping Mask
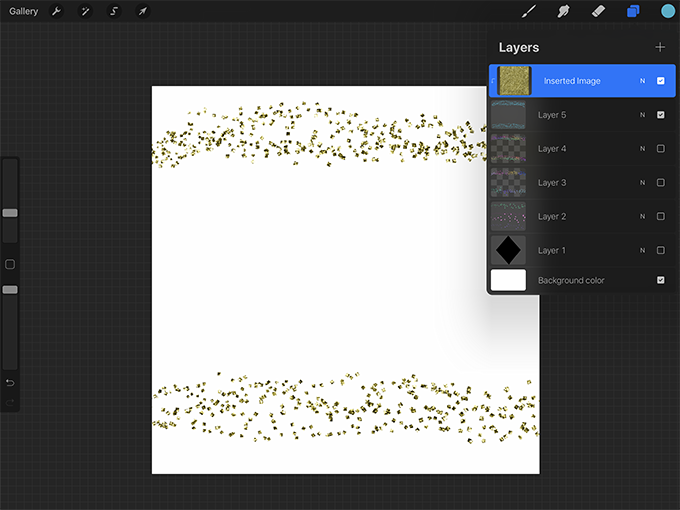
Create a new layer and add some confetti to it.
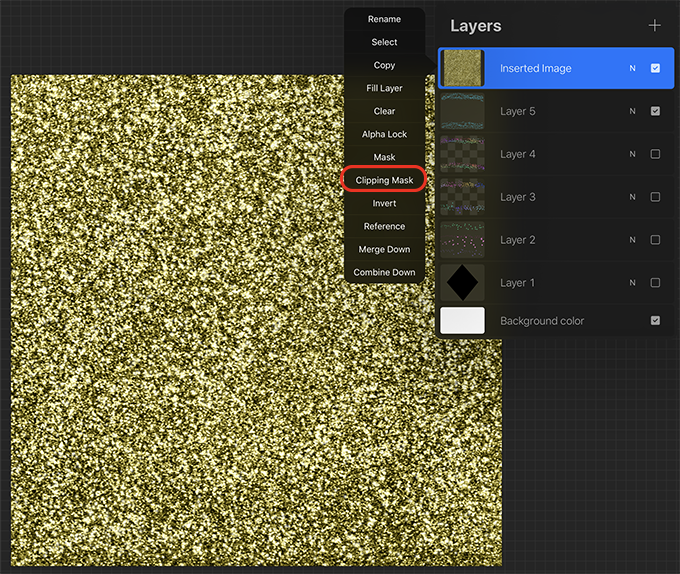
Import a texture or create a texture on a new layer above your confetti layer on the canvas. You can learn how to make your own glitter texture including a multicolored glitter texture in this post.
Make sure the texture is on the layer above your confetti layer and then tap on the texture layer and press Clipping Mask. This should fill the confetti with the texture.
Change the color of your textured confetti
If you want you can change the color of the texture. There are several ways to do this. Here are two of them.
Give the texture a different color
One way is to change the hue of the entire texture. To do this, make sure that the texture layer is selected. Then tap on the Adjustments button and tap Hue, Saturation, Brightness.
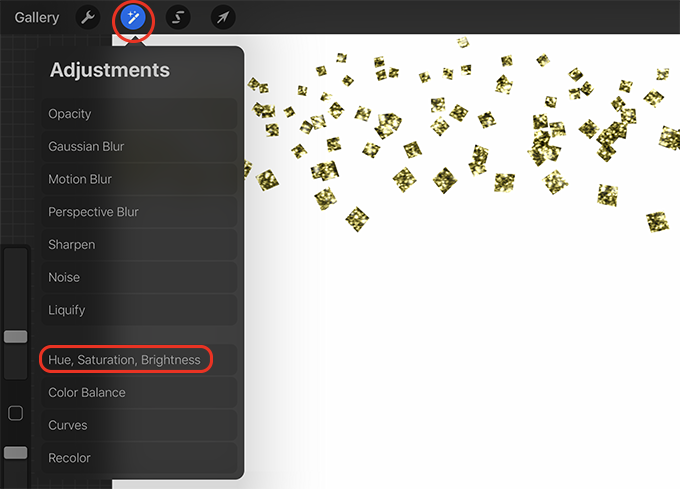
Now use the Hue slider at the bottom of the screen to change the color of the texture. You can tap Reset if you want to go back to the original color.

Give the texture multiple colors
If you want to make the texture have multiple colors, create a new layer above your texture layer. Then tap on the N on the new layer and tap the Color button at the bottom of the layer options. Then tap the Color blend mode.

Now get a brush such as the Soft Brush from the Airbrushing set.
Use the slider at the side of the screen to adjust the opacity of the brush and then paint over the confetti with different colors.

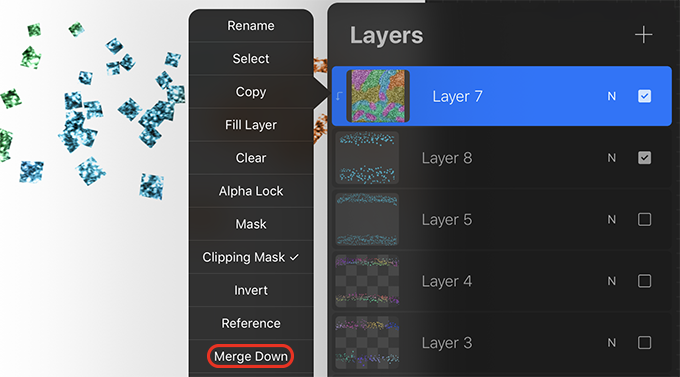
When you’re happy with your confetti, you can merge the layers together. Make sure to merge the layers in the correct order. Tap on the top layer and in the pop-out menu press Merge Down.

Then tap on the new top layer and press Merge Down.
Make More Confetti Brushes
It’s easy to create different confetti shapes using these same settings.
Repeat this process to create a new shape and copy the canvas
To make the confetti more interesting, create a new layer and follow the above process to draw a shape, fill it with black, and copy the canvas.

Create another brush from this shape
Swipe left on your confetti brush and press Duplicate.

Tap Source at the bottom of the brush menu and tap and hold on the Shape Source square to paste your new shape.

The settings should be the same. Now give this brush a new name.

Layer the brushes on the canvas
Use multiple confetti brushes to fill the canvas with different kinds of confetti.
Now you can easily create more confetti shapes, fill them with textures, and then add text or lettering to the canvas to create interesting compositions.
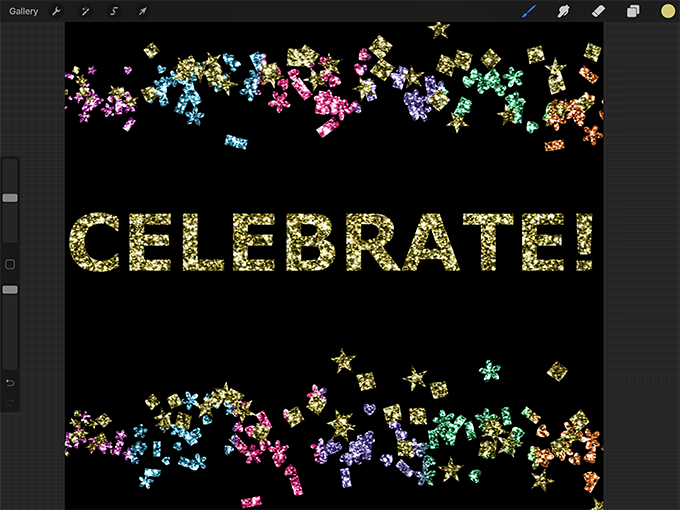
Here I used a few different confetti brushes and then used two glitter textures to add texture and color.
Thank you!
Thanks for visiting mapletreemakery.com. We hope you enjoyed this tutorial! Come back often for more information and tutorials.


Leave a Reply